Installing an LED mirror is more complex than hanging a traditional piece of glass. Because it involves mixing electricity with a wet environment, safety protocols, specific ratings, and careful planning are paramount. This guide outlines the core concepts you need to understand before proceeding with an installation.
Understanding IP Ratings
The Ingress Protection (IP) rating system classifies the degree of protection provided by electrical enclosures against dust and water. When placing electronics in a bathroom, the IP rating is your first safety checkpoint.
An IP rating consists of two numbers. The first digit represents protection against solid objects (like dust), and the second digit represents protection against moisture. For a bathroom mirror, the second digit is critical.
- IP44: Protects against splashing water from any direction. This is the standard minimum requirement for mirrors installed above bathroom sinks.
- IP65: Protects against low-pressure water jets. Necessary if the mirror is positioned extremely close to a shower enclosure where direct spray is likely.
Bathroom Electrical Zones
Electrical safety regulations divide the bathroom into specific zones based on proximity to water sources. These zones dictate what IP rating is required.
- Zone 0: Inside the bath or shower basin. (No mirrors here).
- Zone 1: Directly above the bath or shower, up to a height of 2.25m. (Requires highly protected equipment).
- Zone 2: The area stretching 0.6m outside the perimeter of the bath and to a height of 2.25m from the floor. The area directly around the wash basin usually falls into this category. Equipment here must be at least IP44 rated.
- Outside Zones: Anywhere beyond Zone 2. While less strict, IP44 is still highly recommended due to ambient steam.
Hardwiring vs. Plug-In Options
There are two primary ways to power an LED mirror.
Plug-In Models
Some mirrors come with a standard power cord. While easy to install (you simply hang the mirror and plug it in), this method is rarely suitable for bathrooms. Many building codes forbid standard outlets in specific bathroom zones, and trailing cables represent an electrical hazard and a visual eyesore.
Hardwired Models
This is the professional standard. Hardwiring involves connecting the mirror directly to the household electrical circuit behind the wall. It provides a clean, floating aesthetic with no visible wires. Hardwiring can be connected to a dedicated wall switch, or supplied with continuous power if the mirror features built-in touch sensors.
Installation Steps Overview
Note: Unless you are a certified professional, we strongly advise hiring a qualified electrician for hardwired installations.
- Preparation: Turn off the power at the main breaker before beginning any electrical work.
- Marking and Measuring: Measure the mounting brackets on the back of the mirror. Use a spirit level to mark these points on the wall.
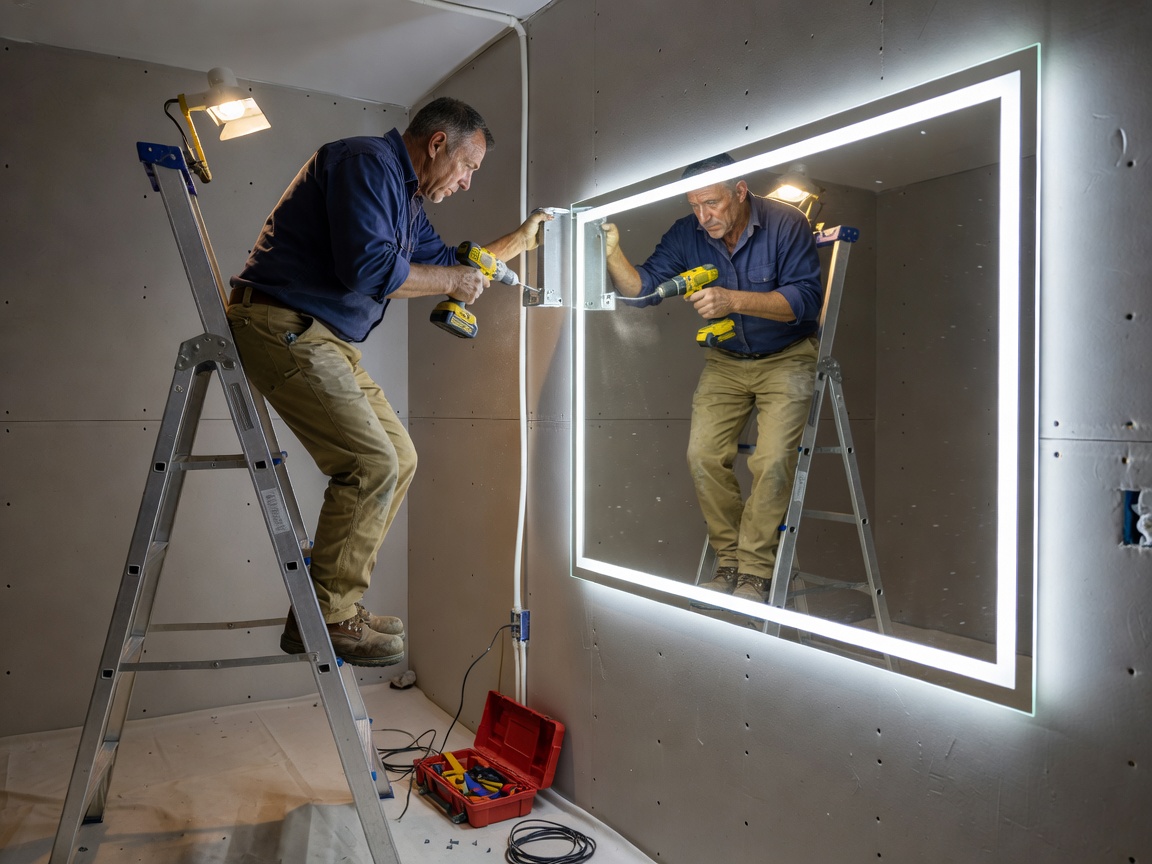
- Drilling: Ensure there are no pipes or cables hidden behind the wall before drilling. Use appropriate wall anchors for drywall or masonry.
- Wiring: Connect the live, neutral, and earth wires from the wall feed to the corresponding terminals on the mirror's driver box.
- Mounting: Carefully lift the mirror onto the brackets, ensuring it locks securely into place.
Taking the time to understand electrical zones and proper mounting procedures ensures your new LED mirror will be a safe, stunning focal point in your bathroom for years to come.